Thank you everyone who got involved in last week's Into The Wild Challenge. If you haven't seen the exhibition yet, just click here to enter:
This week, we leave wild, wonderful, colourful creatures and go Two Tone! We've named this challenge after the fabulous record label of the same name, that specialised in Ska music from bands like The Specials, The Beat, The Selecter & Madness. It was also famous for its use of striking black & white images, and checkerboard graphics like these:
Before we find out a little more about the challenge, it's time to focus on this week's artist - Bridget Riley, who is famed for her use of black and white in many of her Op Art pictures.
She worked in colour and in different styles, but as we are going Two Tone this week, we're focusing just on her use of black and white.
In the 1960's she was one of the key painters in the Op Art movement. Op Art makes use of optical illusions and effects - it tricks your eyes, so things seem to be 3D or moving when they aren't.
Look closely at some of Bridget Riley's work below.
- What do you think?
- How would describe each image and what it appears to be doing?
- How do you think she has achieved this effect?
Miss Jennings is a big Bridget Riley fan and took some of her Art Appreciation Enrichment group to an exhibition at the Hayward Gallery - looking at her art (which is often very big!) can hurt your eyes after a while!
Op Art often requires a little maths (careful measuring) as well as sharp accurate colouring. Bridget Riley always worked out her ideas on paper, small-scale before starting her large painted canvases.
There are lots of examples of how to do more complicated Bridget Riley style Op Art online. Here are a few we found, but I'm sure you can find some other ones.
You can do easier ones such as this. Where you just choose a shape or outline of an object.
Draw it in the middle of your page.
Draw equally spaced lines going across, then grab yourself a black felt pen (black colouring pencil, pencil) and start to colour in your lines.
Draw it in the middle of your page.
Draw equally spaced lines going across, then grab yourself a black felt pen (black colouring pencil, pencil) and start to colour in your lines.
The rule is simple do the opposite inside the shape do what you are doing outside.
So if your line is white outside, you will colour the bit inside black and vice versa.
Here's one Ms Harding started. First draw the outline of your object in pencil. Don't make it too complicated if it's the first time you've done something like this.
Measure out your lines - Ms Harding's were 1cm apart - you can make them bigger than this if you like. Draw them across your piece of paper in pencil.
Start shading in black and white (using felt pen, black colouring pencil, a pencil)
Remember whatever you do on the outside of your shape, do the opposite inside.
What should Ms Harding colour black and leave white next?
Take your time and if you are using felt pen, beware of smudging.....NOT like Ms H!!!
Here is a smudge-free one that Rose completed!
Here is a similar, but slightly more challenging idea, using a circle with lines radiating from the centre.
There are so many ideas for you to research and experiment with.....enjoy! Such as:
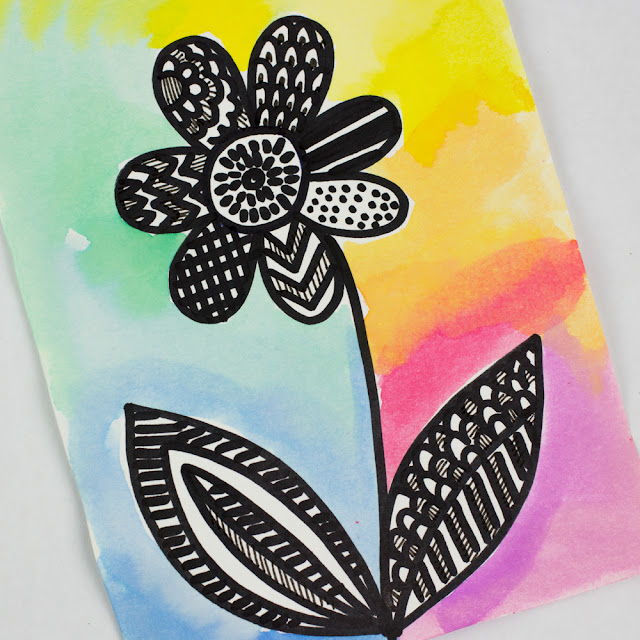
If Op Art isn't for you, why noy try some calming Zentangle Art. Zentangles are just simple doodle pictures or images of objects that are filled in with a series of doodles.
You can find lots of different doodle design ideas to fill up the different sections on your picture online - they often look a little like this:
This is a little bit like the Romero Britto art we looked at a while ago: - You draw a shape or an object.
- Split it up into sections and do different doodles in each section - just using a black pen, felt tip, black colouring pencil or a pencil.
- It is good to use different thicknesses in your lines too.
We looked at zentangles in Year 4 a few years ago. Each of the children created a zentangle from the first letter of their name. You can see them in action and the finished results here:
https://artatmg.blogspot.com/2018/01/zentangled.html
In Year 1 we tried to zentangle our teddies....
https://artatmg.blogspot.com/2017/02/zentangle-teddies.html
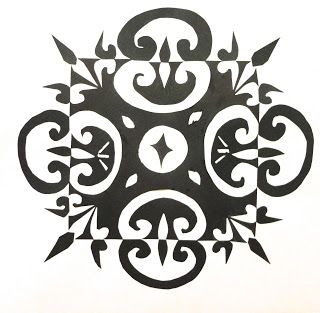
If you don't fancy colouring and prefer cutting out and collage, Japanese Notan pictures might be just the thing for you.
All you need is some black and white paper. As you cut out shapes from the black paper, you flip them over and stick them onto the white paper. It can be a bit fiddly to line everything up, but if you are patient they are very effective.
Here are some Year 4 did a few years ago - you can make them as complicated or as simple as you like.
https://artatmg.blogspot.com/2017/11/positive-or-negative.html
And here is a quick tutorial - younger clubbers, just simplify and use less shapes.
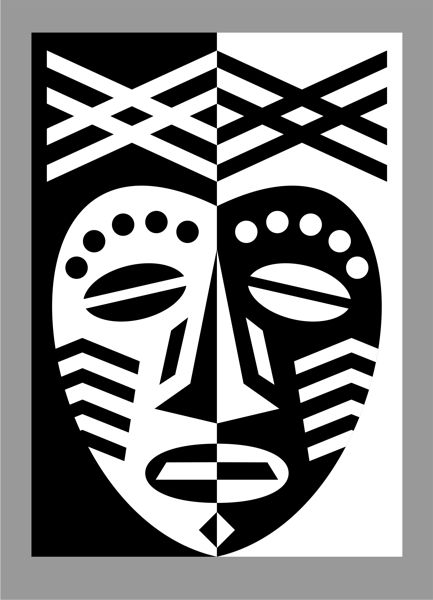
An easier version of a Japanese Notan picture is a symmetry inspired picture, such as the ones below.
- For these you need black and white pieces of paper.
- You draw HALF of your shape on the edge of your black piece, then 'flip' it over onto your white piece.
- You continue to do this for things like eyes, mouth etc... When you are happy and everything is lined up, stick everything down.
You are such a creative bunch, that we're sure you'll have lots of great ideas of your own or do some further research to inspire you!
Op Art, Zentangles and Notan pictures DO take some time and concentration. Zentangles, in particular, are something you can return to over a few days, building them up gradually. They are very calming and just the thing for the hot weather this week. They are very good for adults too, so try and get them involved.
Whatever Two-Tone art work you end up doing, please take a photo of your finished piece and send it by Friday 17th July to:
Good Luck!


No comments:
Post a Comment